


Running and managing CHARON-AXP for Windows
- Copy Page Tree
- Kirill Nikolaev (Unlicensed)
- Bruno Miretti (Deactivated)
Table of Contents
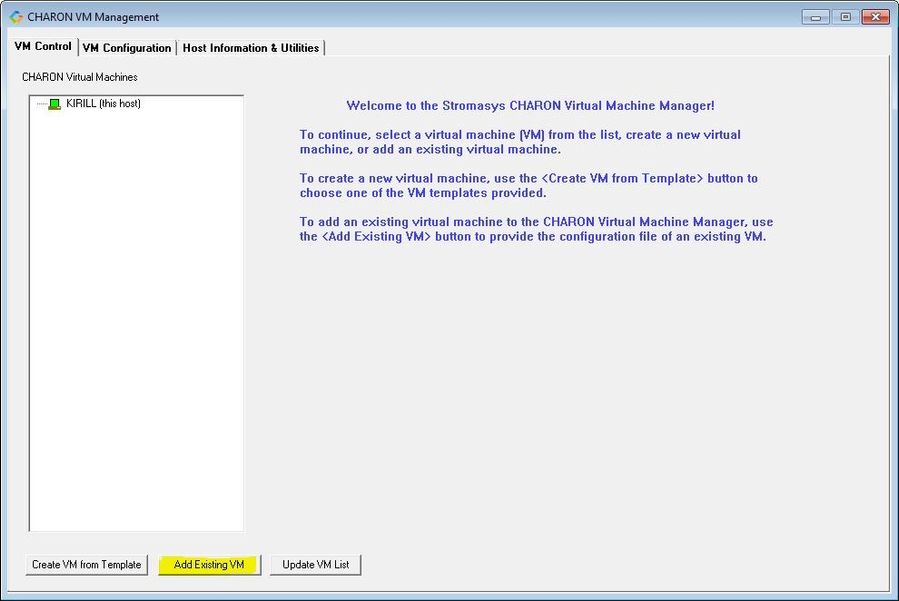
Starting CHARON Virtual Machines Manager
CHARON execution is controlled by the "CHARON Virtual Machines Manager" that manages each CHARON instance, called a "CHARON Virtual Machine", running on the host.
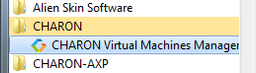
The CHARON installation procedure creates a shortcut on the desktop and under the Windows Start menu for the CHARON Virtual Machines Manager.
Desktop shortcut:

"Start" menu shortcut:
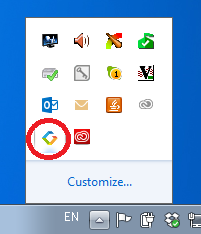
The CHARON Virtual Machines Manager runs automatically at Windows startup. If it is minimized to tray, it can be re-opened in the following way:
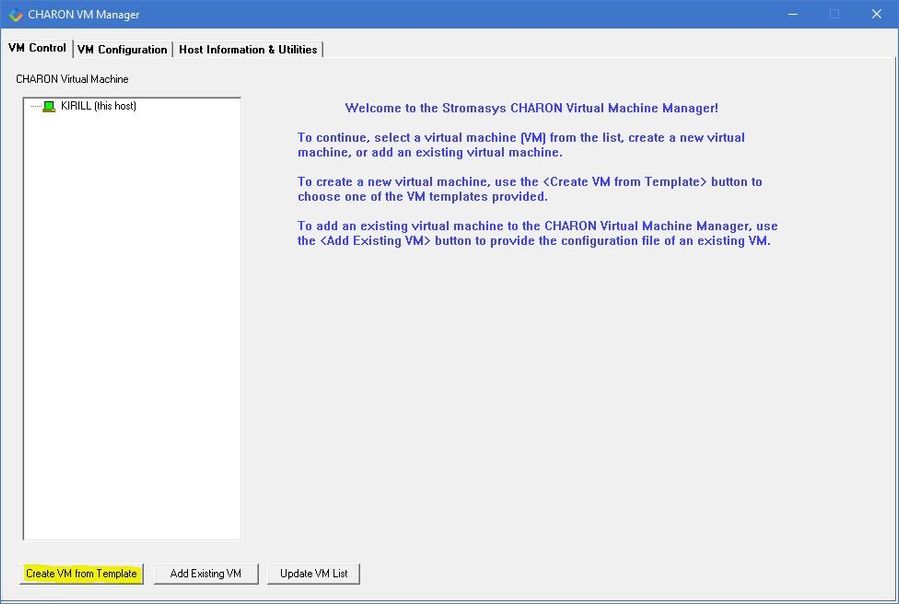
After clicking the shortcuts, the main dialog of CHARON Virtual Machines Manager appears.
Creating a CHARON Virtual Machine
Creating a CHARON VM using provided templates
CHARON installation contains a set of template files for creating a base configuration for each AXP model. Once the CHARON Virtual Machine (VM) is created using these templates it can be configured further to meet your requirements and all the specifics of the emulated system.
By default the CHARON templates do not contain any specification for disks and network; you need to update the configuration file created from the template to specify your specific disk and network configuration.
Start the CHARON Virtual Machines Manager (see above) and press the "Create VM from Template" button:
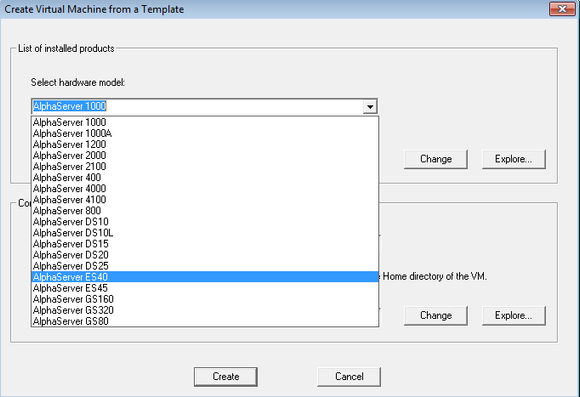
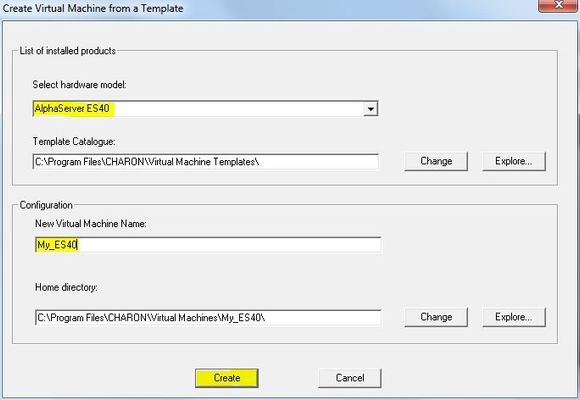
In the appearing dialog select the Alpha hardware model:
Note the Home Directory for the VM (see screenshot below), it will be used by default for storing logs, virtual disk images, toy and container files if no path is specified in the configuration file.
Specify a name for the VM and press the "Create" button:
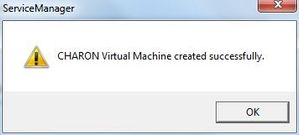
The CHARON Virtual Machines Manager will report the VM has been created successfully:
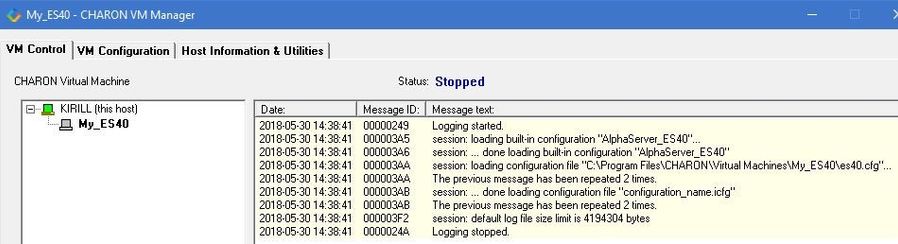
It will then appear in the left pane:
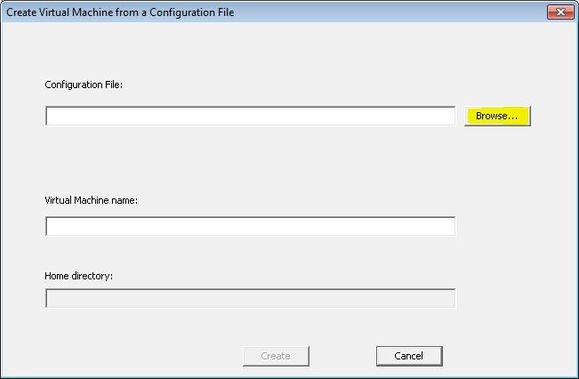
Creating a CHARON VM using an existing configuration file
It is also possible to use an existing configuration file for creating a CHARON Virtual Machine.
Open the CHARON Virtual Machines Manager (see above) and press the "Add Existing VM" button:
In the appearing dialog select the target configuration file by pressing the "Browse" button:
Select the configuration file and press the "Open" button:
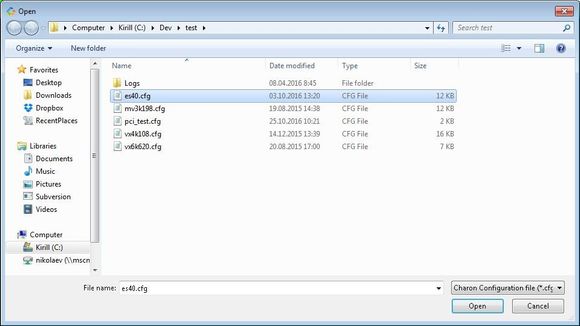
Never select a configuration file template provided in the Charon installation folder as these files could be overwritten with patching.
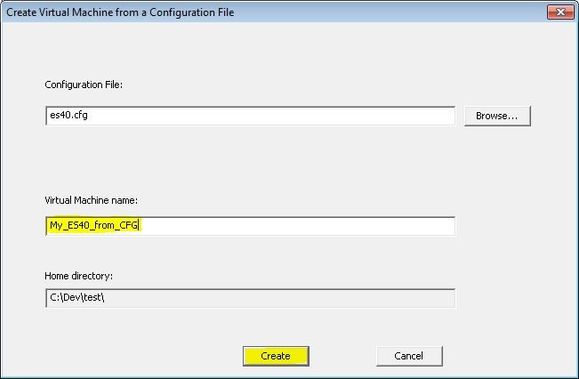
Enter the CHARON Virtual Machine name and note the Home Directory for this VM, it will be used by default for storing logs, virtual disk images, toy and container files if no path is specified in the configuration file.
Press the "Create" button:
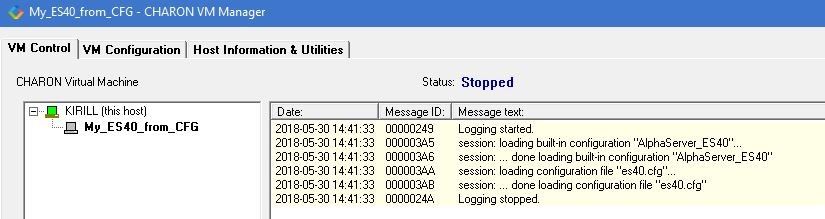
The CHARON Virtual Machines Manager will report the VM has been created successfully:
It will then appear in the left pane:
Running a CHARON Virtual Machine
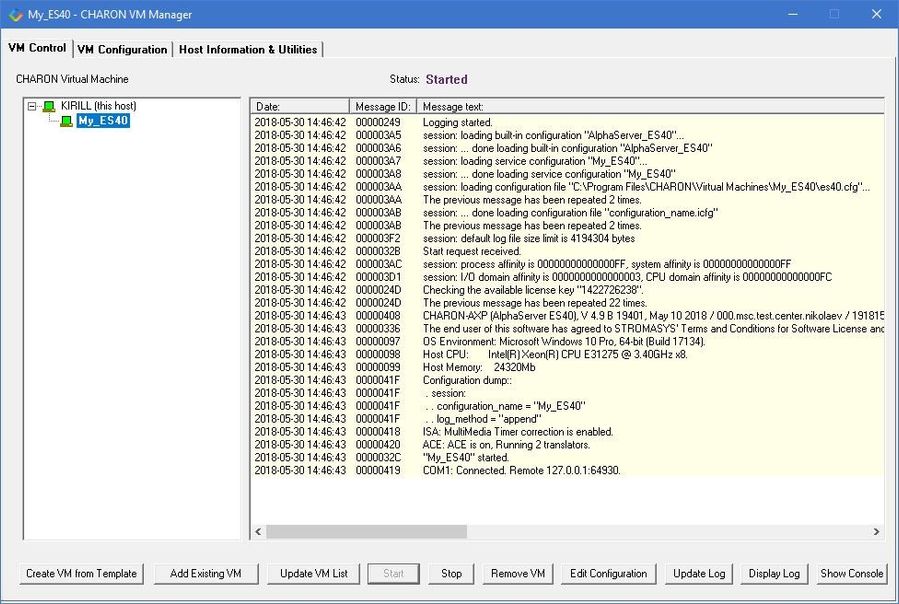
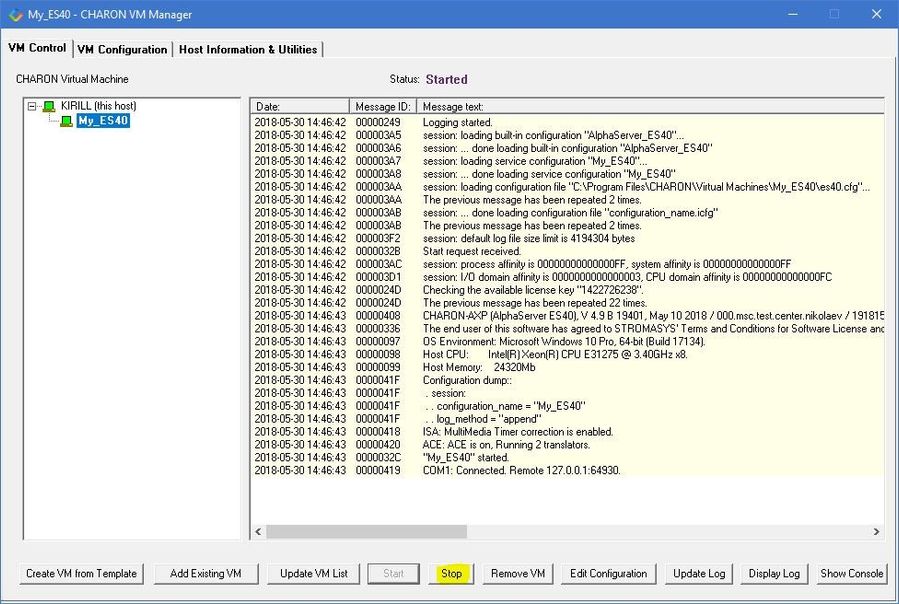
Select the target CHARON VM in the left pane and press the "Start" button:
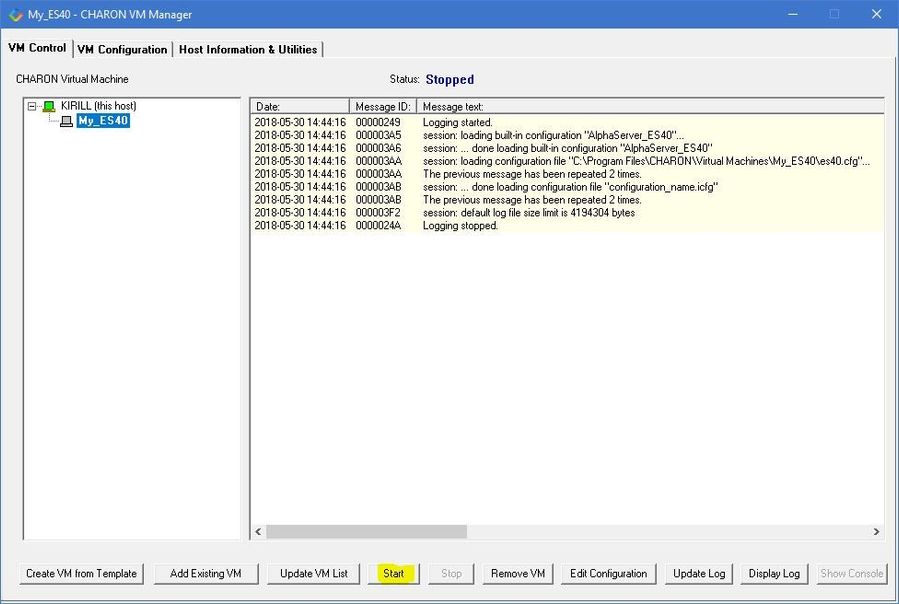
CHARON Virtual Machines Manager will display the execution log:
![]() Note the color meaning:
Note the color meaning:
| Colors | Meaning | Example |
|---|---|---|
Red | Error |
This is an error message
|
| Light blue | Warning |
This is a warning message
|
Light yellow | Information |
This is an informational message
|
Purple | Begin/End of the Windows system log |
Begin / End
|
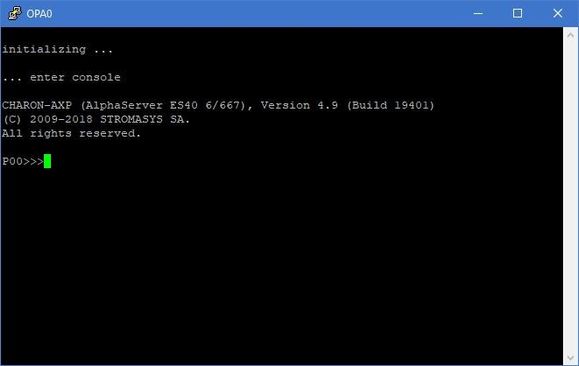
The console of this particular CHARON VM will then appear (if defined in the configuration file):
The total number of devices (both controllers and units, including disks) displayed by CHARON SRM console is limited to 48. Note that it does not affect the actual number of configured devices provided to CHARON guest OS.
Depending on settings, Windows may display a Firewall warning dialog asking to confirm CHARON access to different networks.
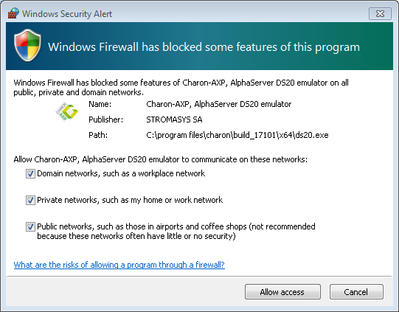
Check the desired options and press the "Allow access" button.
If you closed the CHARON VM console, it is always possible to re-open it by pressing the "Show Console" button:

![]() Closing the console will not stop the CHARON Virtual Machine
Closing the console will not stop the CHARON Virtual Machine
Stopping a CHARON Virtual Machine
![]() Note: before stopping the virtual machine from the CHARON Virtual Machines Manager, a clean shutdown of the operating system running on the VM has to be performed.
Note: before stopping the virtual machine from the CHARON Virtual Machines Manager, a clean shutdown of the operating system running on the VM has to be performed.
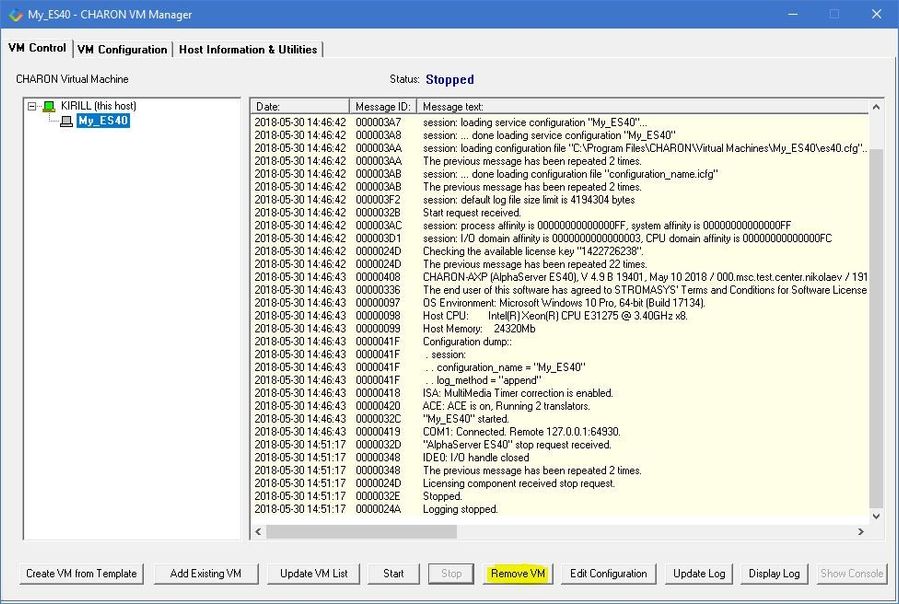
Select the target CHARON VM in the left pane and press the "Stop" button. A dialog will appear to confirm, select "Yes" to continue to stop the VM:
Removing a CHARON Virtual Machine
To remove a CHARON VM, select it and pressing the "Remove VM" button:
![]() The Virtual machine has to be stopped before removing it (see Running and managing CHARON-AXP for Windows#StoppingaCHARONVirtualMachine chapter above)
The Virtual machine has to be stopped before removing it (see Running and managing CHARON-AXP for Windows#StoppingaCHARONVirtualMachine chapter above)
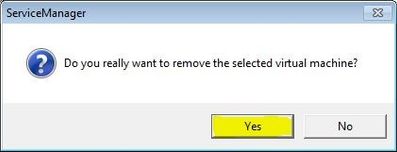
A confirmation dialog will be displayed:
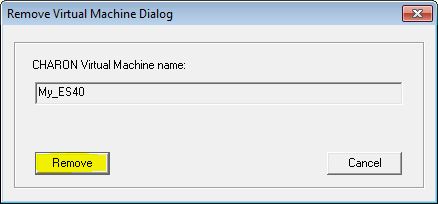
Press the "Remove" button and confirm the CHARON VM removal by pressing the "Yes" button:
Modifying a CHARON Virtual Machine
Select the target CHARON VM and switch to the "VM Configuration" tab to see its features:
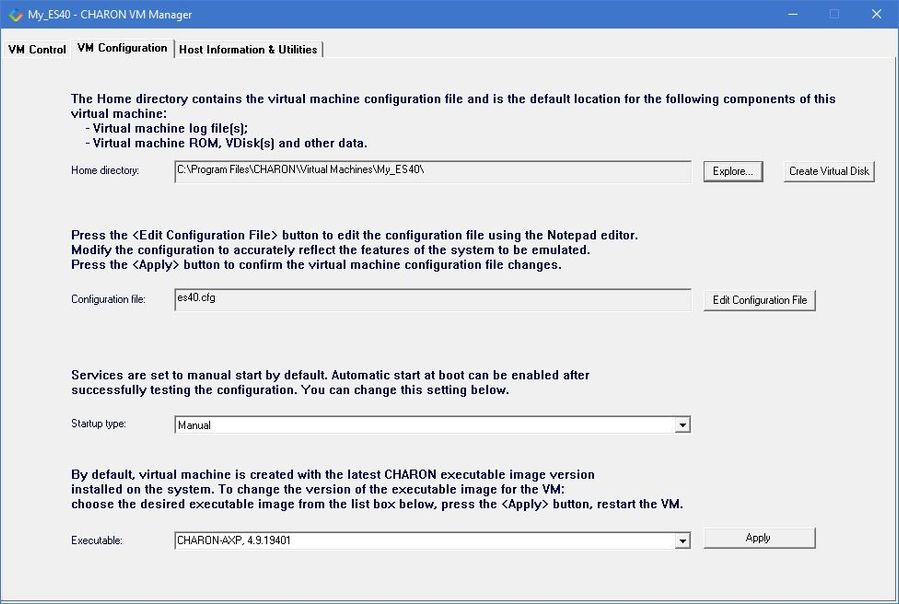
Using this dialog it is possible to:
- Explore the Home Directory of the CHARON VM.
- Create virtual disks by pressing the "Create Virtual Disks" button.
- Edit the CHARON VM configuration file.
- Change the startup mode.
- Select the CHARON version used for this Virtual Machine.
Exploring CHARON Virtual Machine Home Directory
Press the "Explore" button to open up a Windows Explorer window showing the content of the selected CHARON VM home folder:

![]() This content includes the CHARON VM configuration file and may also include virtual disks and tapes images, logs, ROM files, etc.
This content includes the CHARON VM configuration file and may also include virtual disks and tapes images, logs, ROM files, etc.
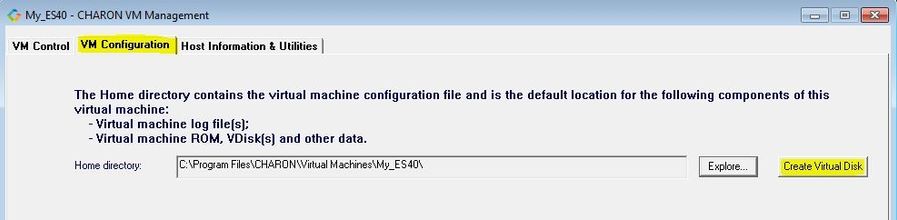
Making a new virtual disk
It is very convenient to use the "Create Virtual Disk" button to create empty disk images in the CHARON VM Home Directory:
The MkDisk utility will be called for this operation:
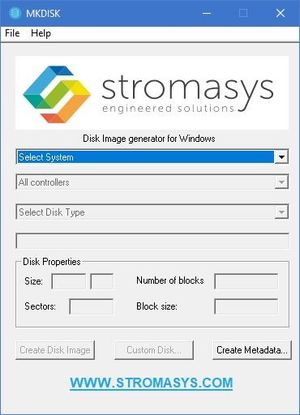
Refer to the "Utilities" section of this User's Guide for more information about the MkDisk utility.
CHARON Virtual Machine configuration file
Press the "Edit Configuration file" button:

Alternatively it is possible to select the target CHARON VM and press the "Edit Configuration" button:
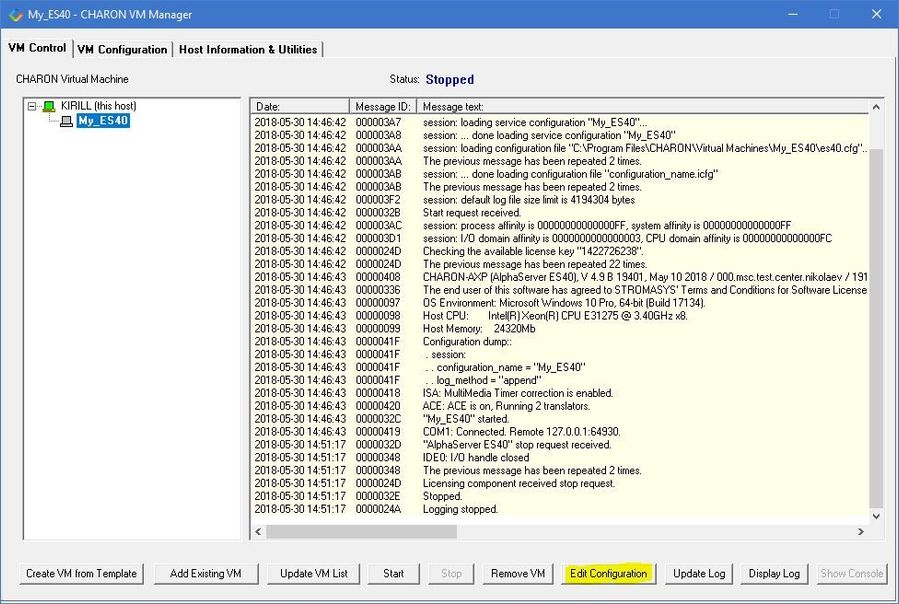
The configuration file specifies all the settings of the CHARON VM. This will be discussed in the next chapter.
CHARON Virtual Machine startup mode
By default, the CHARON VM startup mode is set to "Manual" meaning a user has to start the CHARON VM manually using the CHARON Virtual Machines Manager after a host reboot. If the CHARON VM has to start automatically, select the "Automatic" option.
![]() Setting the mode to "Automatic" will only start the CHARON VM, it will not boot the operating system. This part will be discussed in the next chapter.
Setting the mode to "Automatic" will only start the CHARON VM, it will not boot the operating system. This part will be discussed in the next chapter.
Select the CHARON VM startup behavior in the "Startup type" drop down list:

CHARON version to be used for CHARON VM
The CHARON installation procedure allows several versions of CHARON to be installed on the host at the same time (V4.8 and later only). This option can be used for testing.
![]() If a patch has been applied to a specific version, only the patched version will appear, not the vanilla one. If you need to rollback to a vanilla version, please uninstall the patch according to the documentation provided with the patch.
If a patch has been applied to a specific version, only the patched version will appear, not the vanilla one. If you need to rollback to a vanilla version, please uninstall the patch according to the documentation provided with the patch.
Select the target CHARON version from the "Executable" drop-down list and press the "Apply" button:

Service functions
Additional functionalities are available and described below:
| Function | Description |
|---|---|
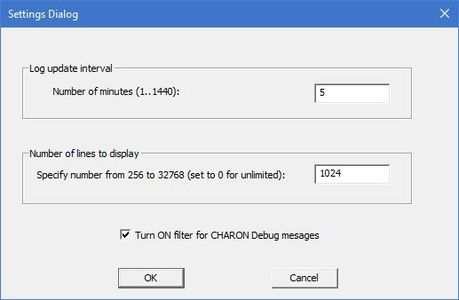
| Update Log and Number of lines to display | The CHARON Virtual Machines Manager updates the displayed log every 5 minutes and displays up to 1024 lines by default. It can be changed in the "Settings" dialog of the program system menu. Right click on top of the CHARON Virtual Machines Manager window and select "Settings":
In the appearing dialog you can change the interval:
If it is required to see most up-to-date version of the log, press the "Update Log" button. |
| Display Log | Available from the VM control tab, bottom right. Creates a separate window containing the selected CHARON VM log |
| Show Console | Available from the VM control tab, bottom right, and if the VM is running. Opens the selected CHARON VM console if it has been closed |

Running CHARON utilities
Select the "Host Information & Utilities" tab to get a quick access to the CHARON utilities:
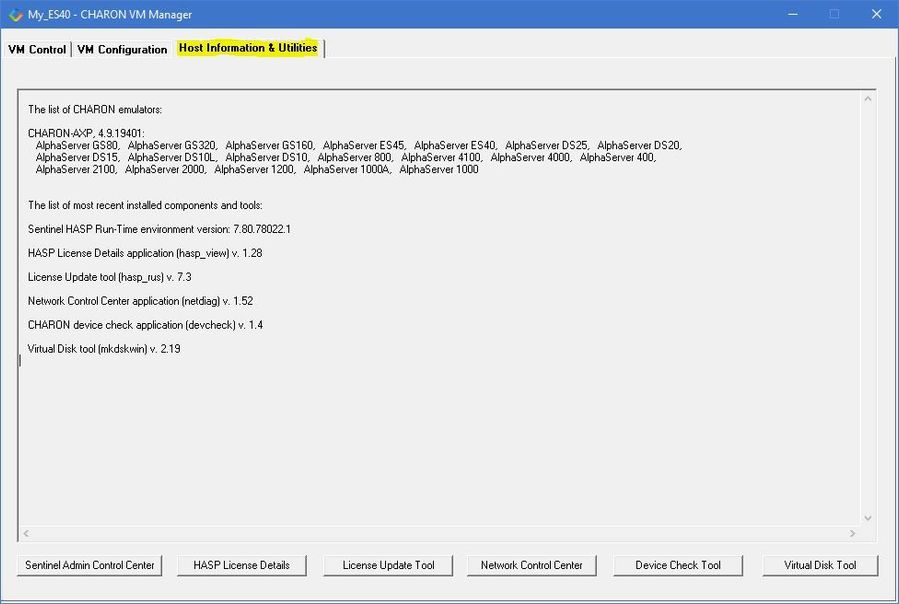
These utilities are described below:
Button | Description |
|---|---|
| Sentinel Admin Control Center | Used to view CHARON licenses and manage them. |
Used to display the CHARON license content. | |
| License Update Tool | Used to manage the CHARON licenses, collect the host system fingerprint. |
| Network Control Center | Used to configure the CHARON network. |
| Device Check tool | Used to review the system resources that can be mapped to CHARON. |
| Virtual Disk Tool | GUI-based utility used to create custom or standard CHARON virtual disk containers. |
Related content
© Stromasys, 1999-2024 - All the information is provided on the best effort basis, and might be changed anytime without notice. Information provided does not mean Stromasys commitment to any features described.