


CHARON Service Manager
- Copy Page Tree
- Kirill Nikolaev (Unlicensed)
Table of Contents
General Description
Used to manage the CHARON services, including their stopping, starting, removing, logs tracing and specifics of execution.
To start the "CHARON Service Manager" use the "Start" menu:

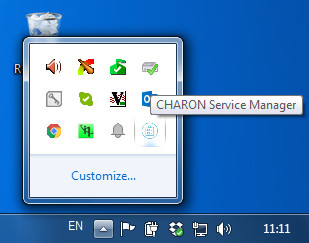
It is also possible to start the "CHARON Service Manager" utility from the system tray menu:

Starting CHARON service
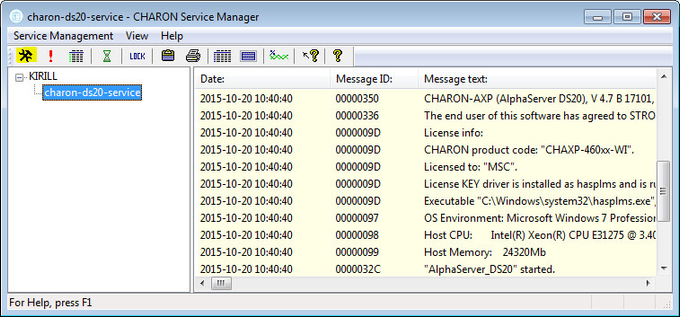
In the main window of the utility, select the target CHARON service ("charon-ds20-service" in our example) and press the "Service" button (labeled with yellow on the screenshot below):
The "Service Management dialog" will appear:
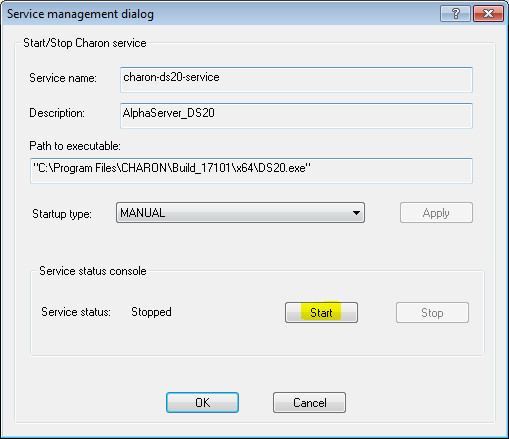
The "Service Management dialog" shows the current status of the selected CHARON service and permits changes to its start up type and to start and stop it. The example screenshot above shows that the service "charon-ds20-service" startup type is "MANUAL" (can be started / stopped only manually) and in the "Stopped" state - these are the default values.
Press the "Start" button to start the service:
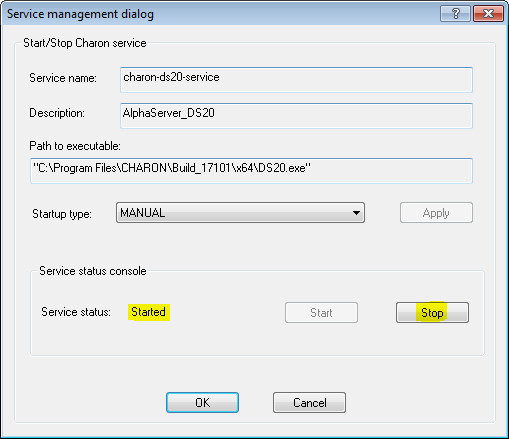
CHARON will start and the Service status will be "Started". To stop the service, press the "Stop" button.
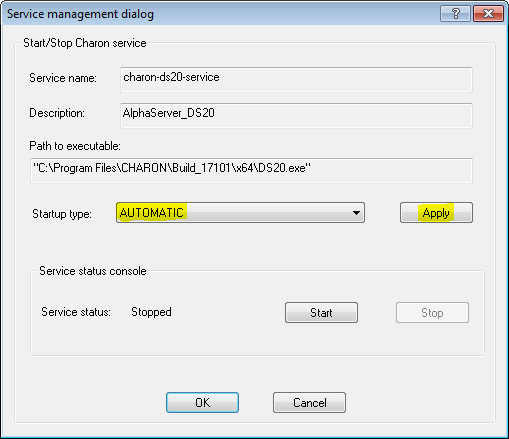
It is possible, and often desirable, to configure the selected CHARON service to start when host operating system starts. To enable this capability, select "AUTOMATIC" in the "Startup type" drop-down box and press the "Apply" button:
Note that a certain delay may occur before the Sentinel Run-time process finds the network license on CHARON-AXP host system startup. If the CHARON-AXP service is starting automatically on the host system, it may report a "License not found" error and exit.
This problem can be avoided by specifying "license_key_lookup_retry" parameter in the configuration file:
|
where:
- N - Number of retries looking for license key (or keys)
- T - Time between retries in seconds. If not specified 60 seconds is used
Example:
|
In this example, if the license key is not found during the initial scan, CHARON-AXP will scan 5 more times, waiting 60 seconds between them before it stops.
See the "General Settings" section for more details.
Managing CHARON service
To see the execution log of a CHARON service, select the service ("charon-ds20-service" in the example below) and the current log messages will be displayed in the right panel of the utility interface. You may need to scroll up to see startup/previous messages: To control execution of CHARON services, open the "CHARON Service Manager" utility from the "Start" menu or use the system tray shortcut to manage the services w/o opening the main window of the utility: Press the right button of the mouse to see a list of the installed CHARON services ("charon-ds20-service" in our example): Select the Service to see the list of the available operations: Explanation: Choose the desired action and click on it.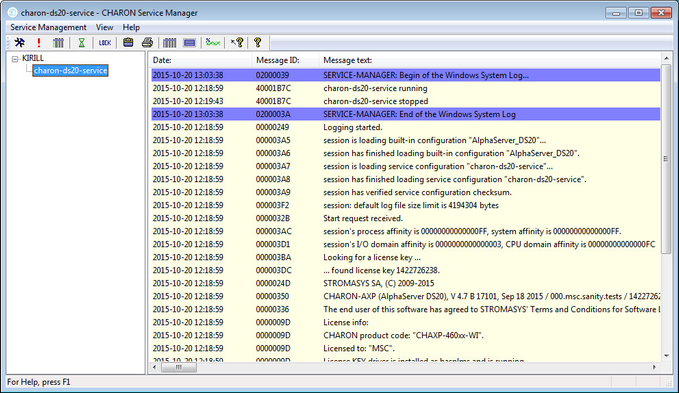
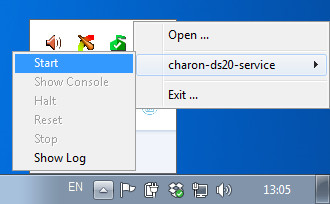
Menu Item Function Start Start CHARON service Show Console Show CHARON service console if it has been closed or not active on the automatic service startup Halt Halt HP Alpha emulator associated with the selected CHARON service Reset Reset the virtual HP Alpha associated with the selected CHARON service Stop Stop CHARON service Show Log Show execution log of the selected CHARON service
Stopping CHARON service
In the main window of the utility, select the target CHARON service ("charon-ds20-service" in our example) and press the "Service" button (labeled with yellow on the screenshot below):

Press the "Stop" button in the resulting dialog box:

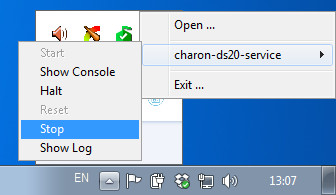
The CHARON Service can be Stopped using the shortcut on the Windows Task Bar.
Open up the "CHARON Service Manager" system tray menu, select the service you are going to stop and click on the "Stop" command:

![]() Please note: before stopping the CHARON-AXP service, shutdown the operating system running in CHARON-AXP.
Please note: before stopping the CHARON-AXP service, shutdown the operating system running in CHARON-AXP.
Removing CHARON service
In the main window of the utility select a CHARON service to remove ("charon-ds20-service" in our example) and press the button with an exclamation sign on it:

Confirm removing the selected CHARON service by pressing the "Remove" button:

Scheduling CHARON service
The "CHARON Service Manager" utility provides a function to set the start and stop date/time for each installed CHARON service.
Select the desired CHARON service and press on the hourglass icon:

In the popup specify the start and the stop date and time for the selected service:

Press "Ok" to apply settings.
![]() Note you will have to perform a clean shutdown of the HP Alpha system before defining the service to be stopped by a scheduled operation
Note you will have to perform a clean shutdown of the HP Alpha system before defining the service to be stopped by a scheduled operation
To remove the scheduled event select it and press the "Remove" button.
Security settings
The security settings informs the CHARON host to lock the desktop after a given amount of time of inactivity.
To enable this function press the "Lock" button:

The following popup will appear:

Specify the desired period of time before locking the session and press the "Ok" button:

Note that the security settings are active only when the "CHARON Service Manager" is running. On exit from the utility the security settings reset.
Sending problem report
To collect information for a problem report select the service you have issues with and click on the yellow highlighted button as shown below:

Choose the target filename to store the information for STROMASYS customer support and press the "Save" button:

Send the file to the STROMASYS customer support along with a detailed description of the problem.
Printing the CHARON service log file
To print the CHARON service log file select the target CHARON service and click on the yellow highlighted button as shown below:

Choose the target printer and press the "Ok" button:

Reviewing the CHARON service configuration
To review the CHARON service configuration select the target CHARON service and click on the yellow highlighted button as shown below:

This utility will display the selected CHARON service configuration:

Press the "Print" button to print it if needed.
Tracing system resources
The "CHARON Service Manager" has a functionality to trace usage of some system resources in real time viewing.
Click on the yellow highlighted button as shown below:

In the popup it is possible to set the parameters to trace:

Choose the desired parameters to view using the "+" button and watch their values change in real time.
Note that the "Performance Monitor" utility is a standard Windows tool (just included in the CHARON distributive for convenience), so for more information please refer to the Microsoft documentation.
Related content
© Stromasys, 1999-2024 - All the information is provided on the best effort basis, and might be changed anytime without notice. Information provided does not mean Stromasys commitment to any features described.